You can easily manage your domains and DNS records via the SolidCP control panel. This guide will walk you through the steps to add a domain or website in SolidCP.
Step-by-Step Guide
1. Log in to SolidCP
-
Access the SolidCP control panel using your credentials.
2. Navigate to Customer Accounts
Click on All Customers to view the list of existing users.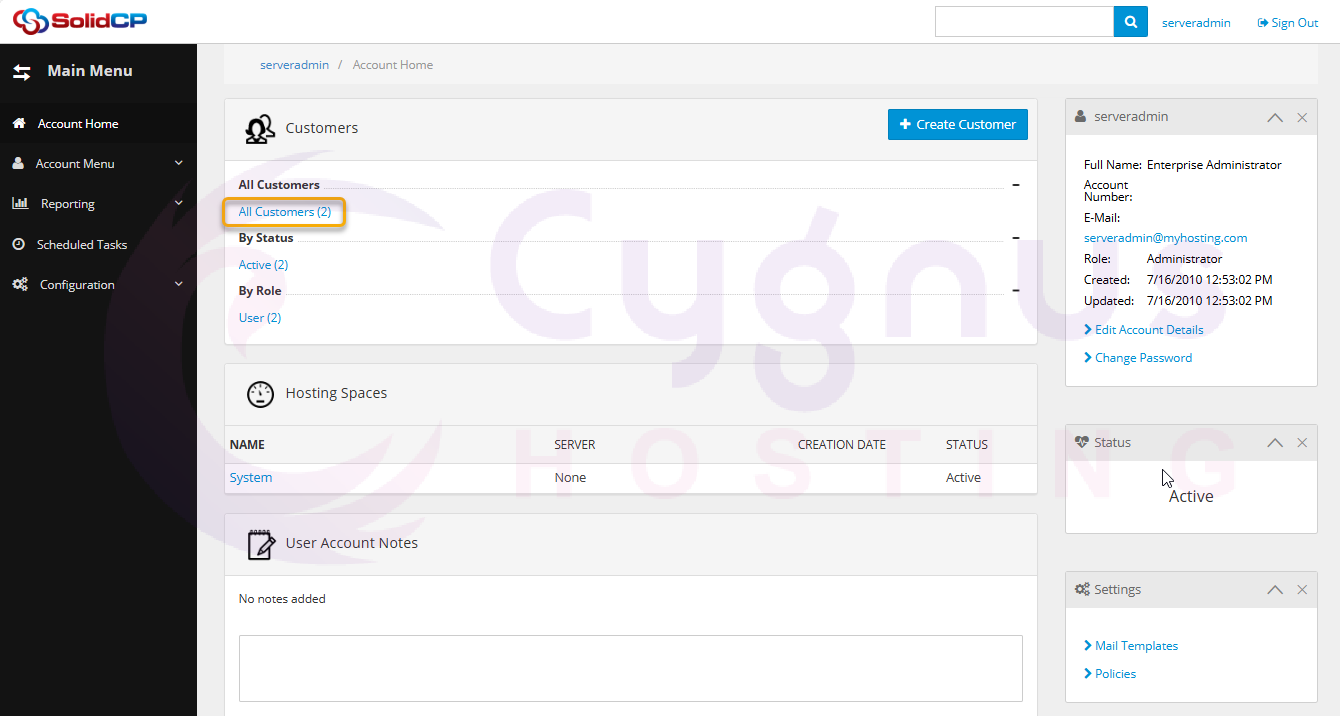
-
If you haven't created any users yet, the default
adminuserwill be displayed.
Click on the username under which you want to add the domain.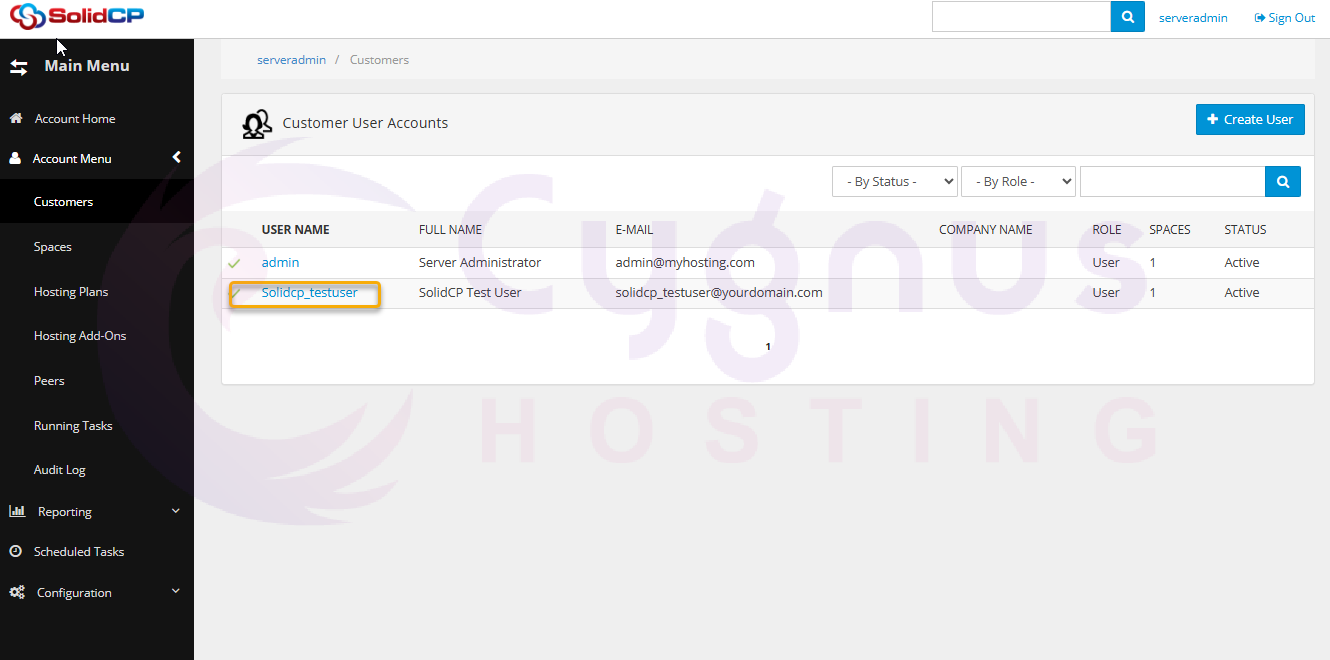
3. Access the Domains Section
-
On the user’s control panel, locate the System section.
Click on the Domains icon to manage domain settings.
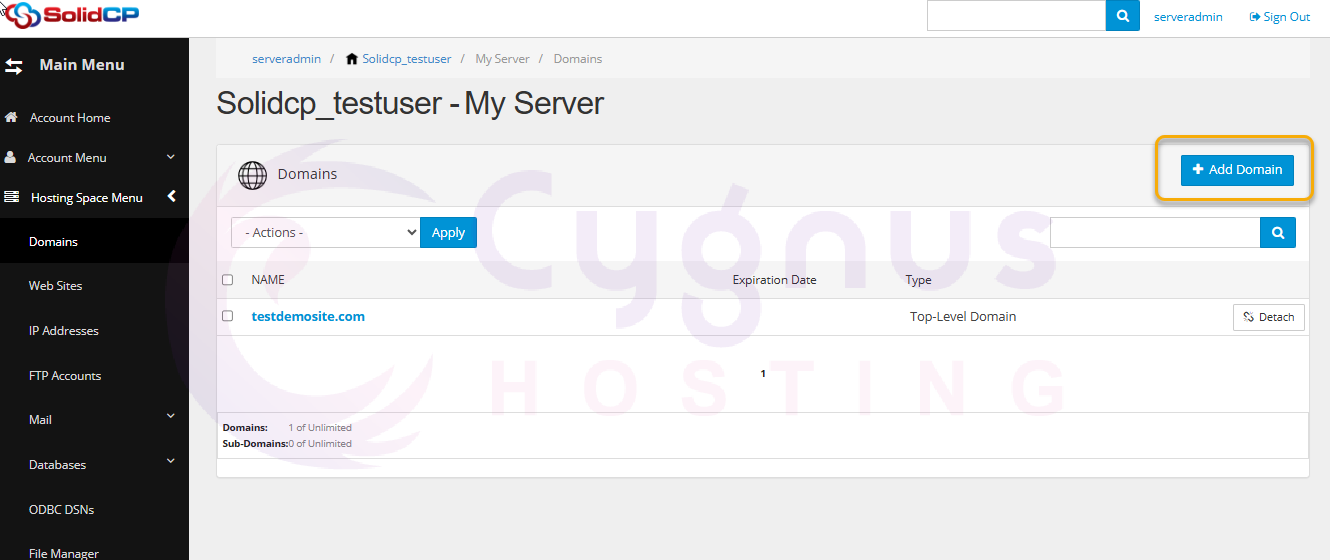
4. Add a New Domain
-
Click the Add Domain button to create a new domain entry.
-
Choose one of the following options:
-
Domain – To add a primary domain.
-
Sub-domain – To add a sub-domain under an existing domain.
-
5. Enter Domain Details
-
Type the domain name in the provided text box.
-
Optional settings:
-
Create Web Site – Keep checked to create an IIS website for the domain.
-
Enable DNS – Keep checked to enable DNS for the domain.
-
-
Click the Add Domain button to finalize the setup.
6. Verify the Added Domain
-
The newly added domain will now appear in the list of managed domains.
Conclusion
You have successfully added a domain/website in SolidCP. You can now manage its DNS settings, website configurations, and other services as needed.
For further assistance, refer to the SolidCP documentation or contact support.
