SolidCP is a powerful control panel for managing web hosting services. This tutorial will guide you through the process of creating a SolidCP user and adding hosting space. Before proceeding, ensure that you have already created a hosting plan.
Step 1: Log in to SolidCP
To begin, access your SolidCP control panel and log in using your administrator credentials.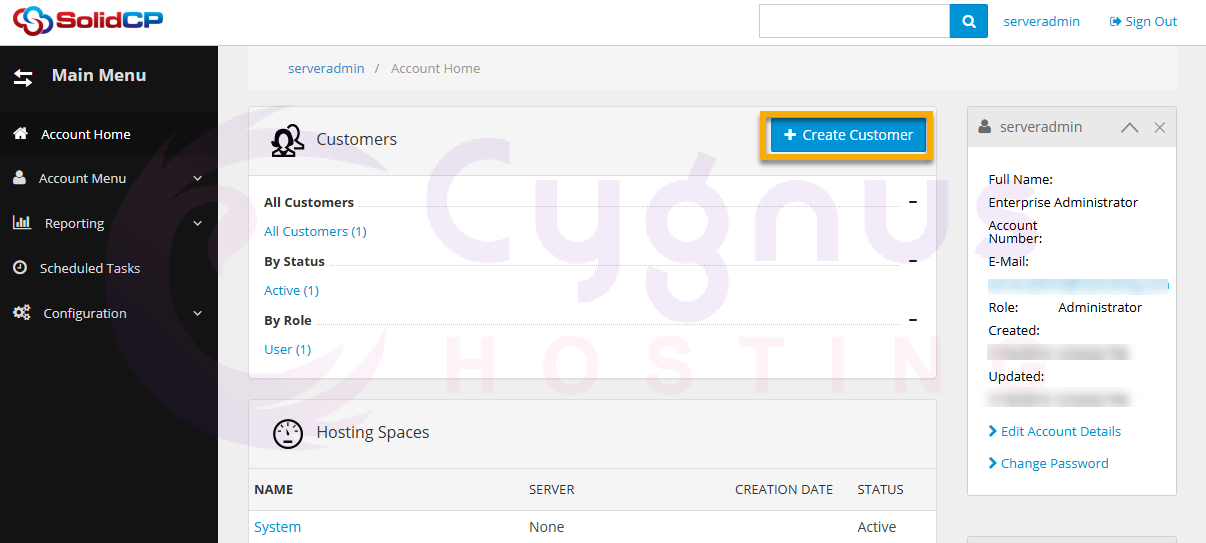
Step 2: Create a New Customer
-
Once logged in, navigate to the Create Customer link.
-
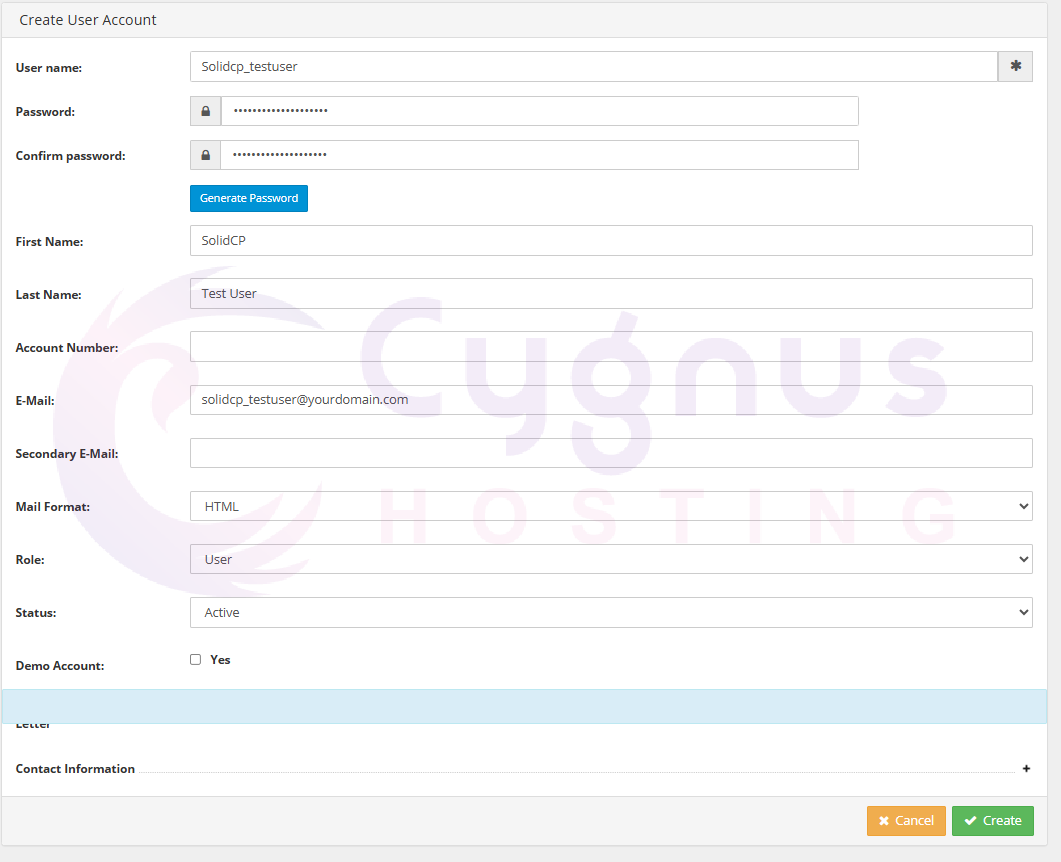
Fill in the required user details, including:
-
Username
-
Password
-
Email Address
-
Contact Information
-
-
Click the Create button to finalize the process.
Step 3: Create Hosting Space
-
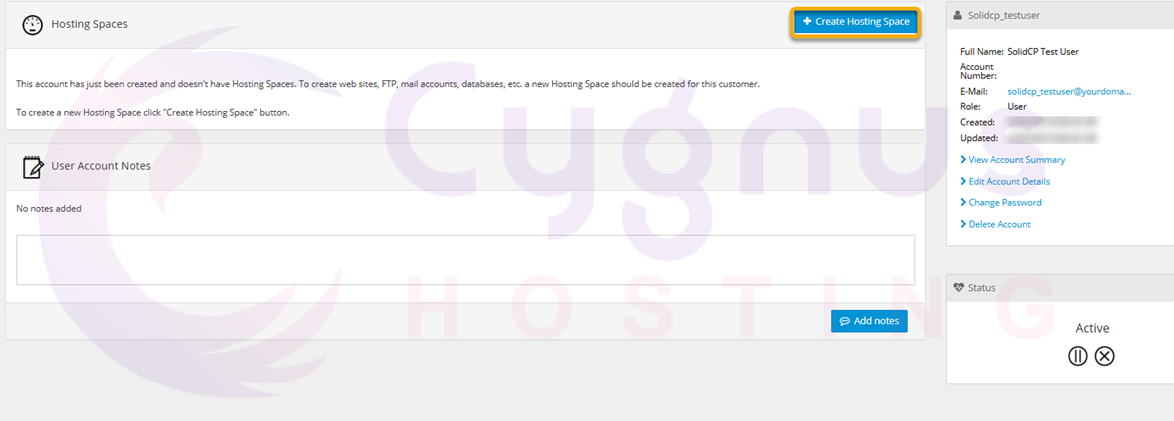
After creating the user, you will be redirected to the Hosting Spaces page.
-
Click on the Create Hosting Space button.
-
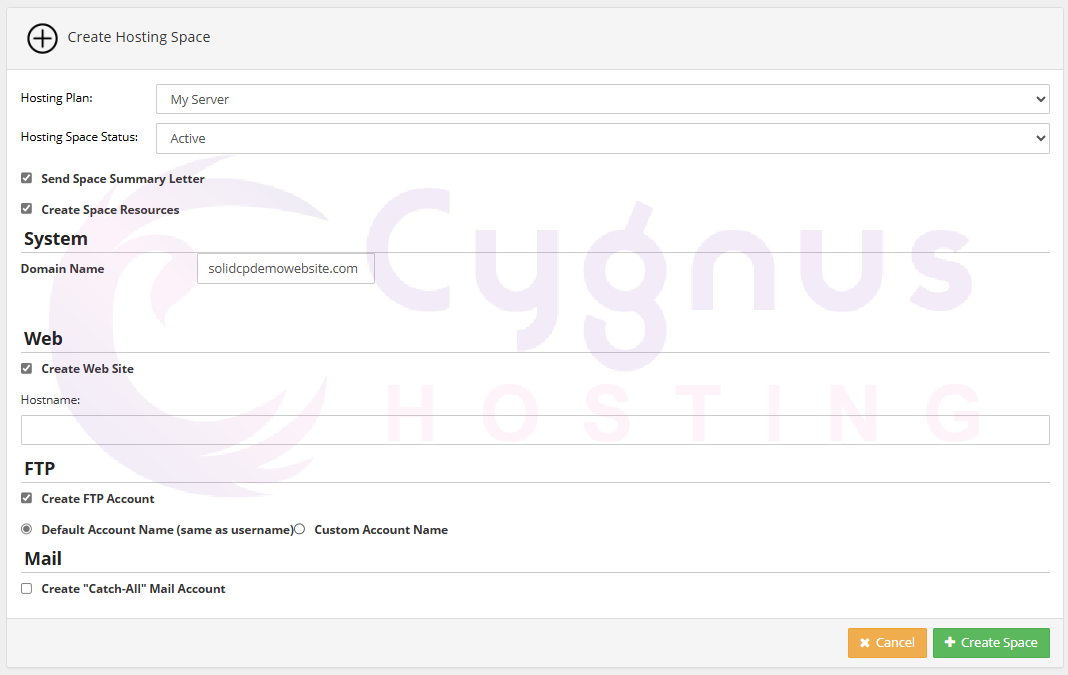
In the next screen:
-
Select the Hosting Plan from the dropdown menu.
-
Set the Hosting Space status to Active.
-
Enter the domain name in the provided field.
-
Check the boxes for:
-
Create Web Site
-
Create FTP Account
-
-
-
Click the Create Space button to complete the setup.
By following these steps, you can successfully create a new user in SolidCP and allocate hosting space with the necessary configurations. This ensures smooth account management and streamlined hosting services.
